

Search the Community
Showing results for tags 'ogors'.
-
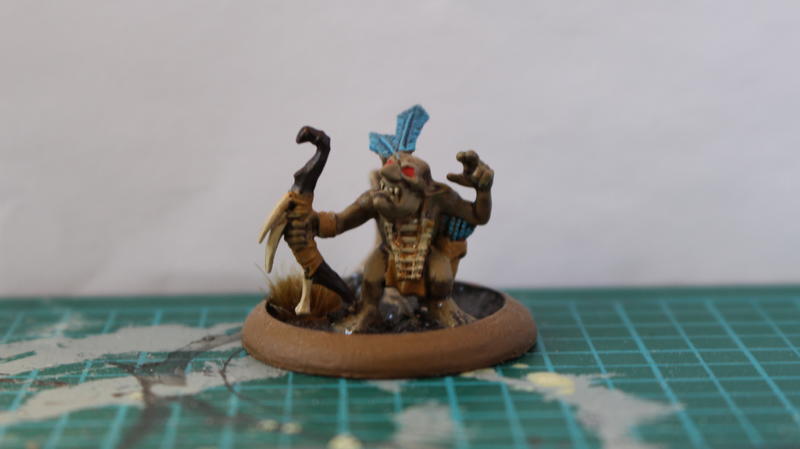
 AoS 3.0 Game #6 July 31st, 2021 @ Old Dice Wargaming Club Soulblight Gravelords (Vyrkos) vs. Ogor Mawtribes (Blood Gullet) Battleplan: Tectonic Interference (2000pts) Soulblight Gravelords Army List Deployment Top of Round 1: Soulblight Gravelords The ogor army outdropped me and decided to give me the first turn. My first turn was fairly un-eventful as I pretty much just cast my spells and moved slightly forwards, just enough to get onto the objectives. My spell casting went un-interrupted as the Vyrkos re-rolling ability and Belladamma’s +1 to casting gave me a strong magic advantage this game. I took ferocious advance as my opening battle tactic which I completed by running the Necromancer, Vampire Lord, and small group of skeletons. I also deployed my reserve zombies on the right side objective. SBG 5 - 0 OGR Bottom of Round 1: Ogor Mawtribes Ogors had a pretty powerful magic phase this turn as I failed my dispel roll for Voracious Maw and he rolled quite well, taking a total of 7 wounds off my Vengorian Lord. I took a little bit of damage in the shooting phase but nothing too devastating. In the charge phase I got a bit lucky as his unit of Man-eaters failed their charge roll and his hero (proxied as the Orruk in the picture) whiffed on his attacks. Unfortunately I made a (possibly game ending) error right in the first combat phase. I had a complete brainfart and activated my skeletons first… even though the hero they were in combat with had already attacked. This meant that on the next activation he got to wipe out all of my grave guard. My large block of zombies also took a big hit on the right side of the board as they tried to hold the objective there. Fortunately I was able to kill the hero who had made his lone charge, while also somehow managing to keep my battle line unit alive to deny his battle tactic. SBG 5 - 2 OGR Top of Round 2: Ogor Mawtribes The ogors were able to push me off all the objectives this turn in a pretty powerful move forward. I took a little bit of damage in the shooting and hero phase, but nothing quite as bad as before. Fortunately, while I did lose all of the objectives, I was able to hold him off his battle tactic as my Vengorian Lord managed to hold on with a single wound thanks to some timely ward saves. Mannfred did a ton of damage to the ogor unit who attacked him and my Necromancer valiantly killed an ogor himself (praise be to swingy D3 damage?). Despite doing quite well in combat, this turn put me in a pretty tough place in regards to objective control. SBG 5 - 6 OGR Bottom of Round 2: Soulblight Gravelords This was a fairly uneventful turn for me, but relatively successful. At the end of last turn I succeeded in bringing back half my grave guard unit, which was pretty important for keeping me in the game. The alpha objective unfortunately landed on the far right side of the board, putting it out of my reach for the moment. I consolidated my forces on the left side and took the objective, completing my battle tactic (bring it down) in the process. This put me back into a slight lead and with a fairly strong force grouped together. SBG 8 - 6 OGR Top of Round 3: Ogor Mawtribes My opponent chose Slay the Warlord as his battle tactic. In retrospect, there was a mistake here. At the time, I was under the belief that any “general” counted towards the tactic (so in this case, Belladamma counting because she’s a bonus general in Vyrkos) but I have since learned that that is not the case. In any case, he was able to charge into my exposed Belladamma and take her out without too much problem. He also charged his Firebelly into my Vengorian, which would end pretty badly for him. The alpha objective landed someone on the right side again, so he was able to score 2 points for the tactic, and 3 points on objectives. SBG 8 - 11 OGR Bottom of Round 3: Soulblight Gravelords My record keeping starts to fail me here as I started to forget to label my pictures, and in fact I don’t think I took any for this round. The big clash on the left side of the board continued and I made another huge blunder. I had meant to flee Mannfred from combat but totally forgot. Instead of asking to re-do it I decided to suffer a round of fighting, thinking he could manage (spoiler alert: he didn’t). Losing Mannfred was a huge blow, especially to my mobility and this was probably what cost me the game. However, I was able to push up the center of the board with my Vengorian (who had since healed up most of his wounds after being one away from death) and a revived unit of zombies. This allowed me to take the center objective again and I was able to score at least 2 points. I barely failed my attempt at killing his own warlord this round, so I failed my battle tactic. SBG 10 - 11 OGR Top of Round 4: Soulblight Gravelords I was hoping for a dominant combat phase here so that I could push into his vulnerable heroes in round 4. Unfortunately, without the buffs from Belladamma, the Vampire Lord, and Mannfred my basic units just weren’t strong enough to break through the last unit of ogors. I lost all my zombies, but did manage to put quite a few wounds into the last unit. However, being stuck in combat was a big problem. My vengorian moved onto the right side objective (which once again became the alpha) but I couldn’t do enough damage to kill the leadbelchers and win over the objective. I did claim my battle tactic by running some revived skeletons and my necromancer into his territory and still had two objectives claimed. If the alpha objective had fallen into my territory I would have been able to maintain a stronger lead. SBG 14 - 11 OGR Bottom of Round 4: Ogor Mawtribes The ogors and skeletons continued to duke it out on the left side of the map while the leadbelchers continued to try and take out my Vengorian Lord who was just barely hanging on for dear life. My opponent also claimed Savage Spearhead this turn and scored the bonus point for having the alpha objective which tied up the game. SBG 14 - 14 OGR Top of Round 5: Ogor Mawtribes The alpha objective landed in the middle this turn, which meant that things could potentially get interesting since we were so close on points. My opponent took Monstrous Takeover as a throw away battle tactic since they couldn’t complete any of the others. The leadbelchers finally finished off my Vengorian Lord. Once again, with the alpha under his control he was able to score three points this turn. SBG 14 - 17 OGR Bottom of Round 5: Soulblight Gravelords So the ending of this game was a little weird. My opponent assumed that I had essentially won the game and starting tidying up, assuming that I could just grab the middle objective with my necromancer and skeletons. As a result, I kind of just haphazardly moved my models over without bothering to measure out carefully. After doing so, I realized that technically I was within pile-in range of one of his ogors and reminded my opponent since he hadn’t noticed. He was able to pile in and thus stop me from getting the objective and battle tactic. If I had spent the time carefully measuring out the models with the 3” gauge or if I hadn’t said anything, I would have finished this round with 5 points, bringing me up to 19 total (and then adding in 3+ for both of us because of grand strategies). Of course, we’re just playing for fun so it doesn’t matter too much. Officially speaking this game was a loss for me, but I do feel like I should have tied if I had played it out properly, oh well! SBG 18 - 22 OGR Final Scores Soulblight Ogors Post Game Overall this was a really fun and close game, coming down to the very end and being decided by only a few points regardless of which ending you want to consider. I was a bit nervous about running this list, which is actually the 5-0 tournament list run by Brendan Melnick in the US. To me, the list didn’t look very strong, and while similar to the style I wanted to play it didn’t include very many heavy hitters like dragons or blood knights. I’m glad I tried it out though because it turned out to be a strong list, even with me piloting it very badly (losing Mannfred and my Grave Guard to mistakes). I learned a lot by playing this list and seeing how powerful it is to have a focused list with big blobs of units and focusing on battle tactics and objective control. It seems that the current battle pack really encourages a “hold 2 and then complete tactics” style of play which this list does really well. It was also fun playing against my first Korean opponent and playing my first game against the ogors who I think are a really fun matchup for my Soulblight.
- 1 comment
-
- 2
-

-

-
- soulblight
- ogors
- (and 2 more)
-
 So i've edited this from a purely Wolves of Ghur PLOG (although i strayed from that quite early on) into a PLOG for all of my various AOS armies and related projects past and present and I want to keep this first post as contents section with links to the various armies: Wolves of Ghur (Khorne Bloodbound) - Pages 1 -3 (ongoing) Duardin - Page 1 (complete) Sylvaneth Page 2 (complete) Beastmen (Brayherd, Warherd, Daemons, Monsters of Chaos) Page 3 (complete...for now) Ogors and Gargants Page 3 (complete)


- 102 replies
-
- 7
-
-
- khorne
- bloodbound
- (and 9 more)
-
Video
-
Following my shot at the Kharadron Overlords, I've had a go at a much more sensibly-sized warband – the Ogor Mawtribes! As well as fighter cards and an ability sheet, this includes a Background table. No Allies or Campaign as of yet, but all feedback is 100% welcome! Let me know if there's anything you think might need a second look. Warcry-OgorMawtribes-SMALL.pdf
- 11 replies
-
- 3
-
-
- homebrew
- house rules
- (and 4 more)
-

-
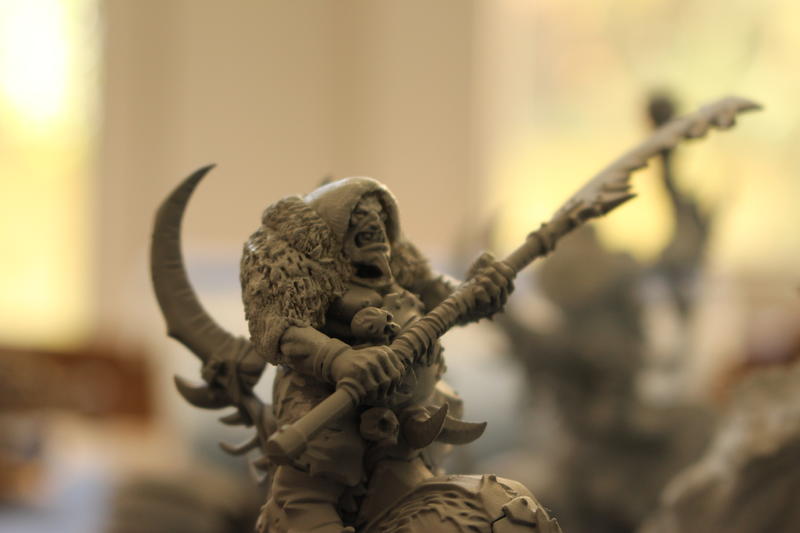
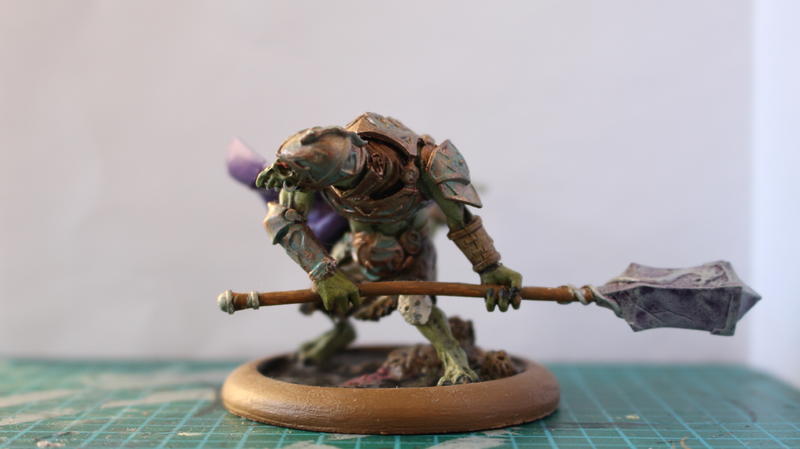
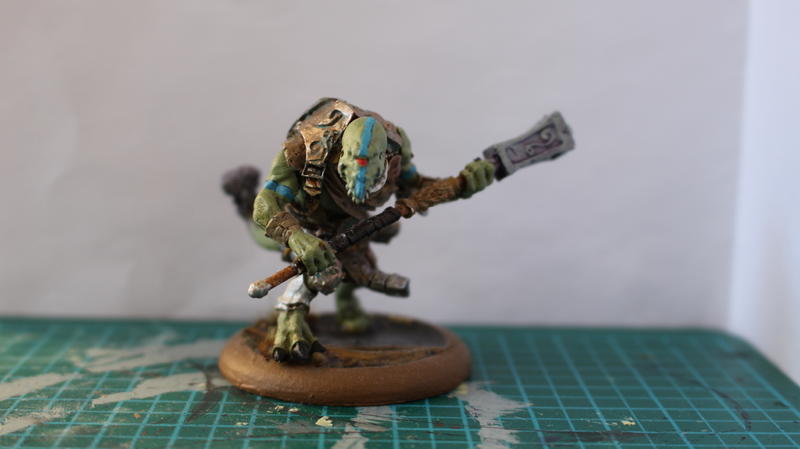
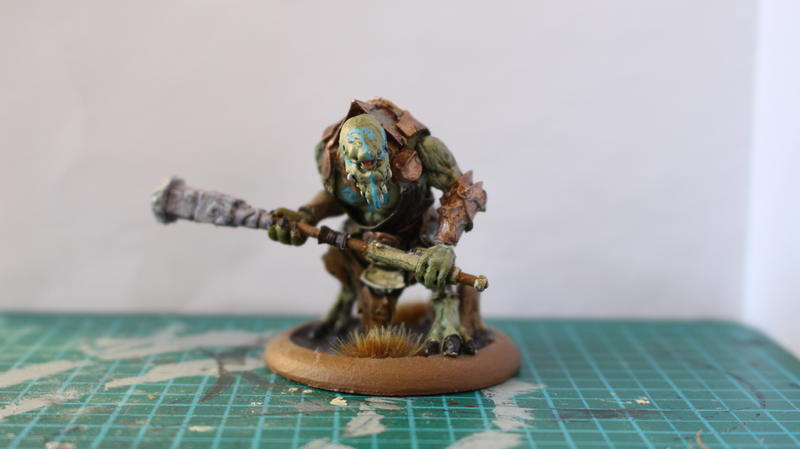
 Hello Everyone, I'm starting a blog to document my workings on a Beastclaw Raiders Army. So far I have the start collecting box assembled as well as an Icebrow Hunter that I've kitbashed from spare parts. I'm currently waiting for paints to arrive so here are some WIP shots of the models. I felt that the models didn't quite line up with the lore so I sculpted fur cloaks/shawls on all of the riders, as well as a big leather bag for the Hunter to carry his gear in. Also, I'll add a few pictures of the Fimirach that I painted up for fun but that I'll end up using as Allies for the Raiders. And Finally, some Spiderfang Grots from an older army that I built repurposed as Swamp goblins for my Fimir. C+C's are always greatly appreciated! Bores


- 7 replies
-
- 5
-
-
- beastclaw raiders
- ogors
- (and 4 more)
-
A quick question. I just got myself a butcher model for my BCR. Now I realize there are actually two models - one with the great cauldron and one without. In the pitched battle profiles there is just one Butcher, and there is only one warscroll for him. Does this mean that I bought the wrong model, or let's say the one with fewer options in game?
-

-

-

-

-

-

-

-

-

-

-

-

-

-

-

-


